In this tutorial, we'll learn about setting up a JavaScript development environment.
To set up a JavaScript development environment, you'll need to follow these steps:
1. Choose a text editor:
To write and edit your JavaScript code, you will require a text editor. There are various options available, both free and paid. Popular text editors for JavaScript development include Visual Studio Code, Sublime Text, and Atom.
Among all of the code editors, I will recommend Visual Studio Code because of the following reasons.
- Free and Open Source: VS Code is a free and open-source code editor developed by Microsoft. This means that it's accessible to anyone, and its source code is available for developers to review and contribute to.
- Customizable: VS Code is highly customizable, with a large library of extensions and themes that can be used to customize and enhance its functionality. This means developers can tailor the editor to their specific needs and preferences.
- Cross-Platform: VS Code is available for Windows, macOS, and Linux, making it a versatile code editor that can be used on various systems.
- Built-in Git: VS Code has built-in support for Git and other version control systems, making it easier for developers to manage their code and collaborate with others.
- Debugging: VS Code has a built-in debugger that can be used to debug JavaScript code, making it easier for developers to find and fix errors in their code.
These are just a few reasons why VS Code is a popular choice among developers for JavaScript development. Ultimately, the best code editor for JavaScript development will depend on the specific needs of the project and the personal preferences of the developer.
You can download the code editor by following the link given below.
2. Install Node.js:
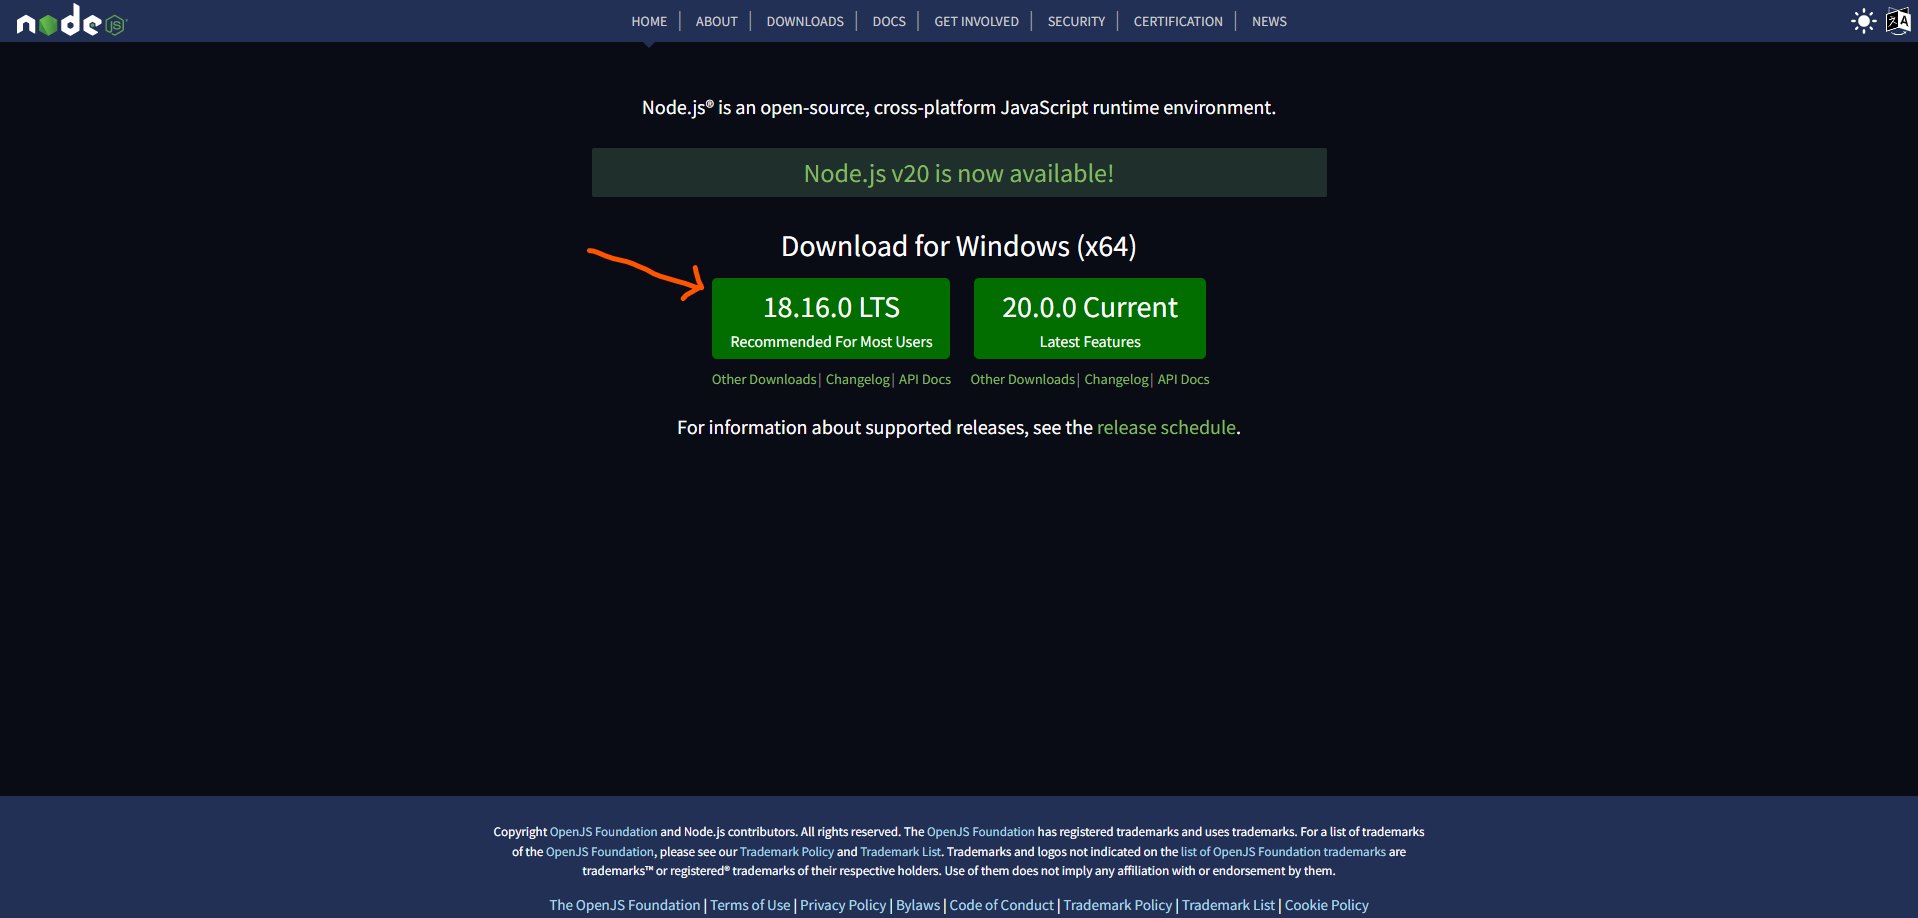
Node.js is a runtime environment for JavaScript that enables running JavaScript code outside of a web browser. To install Node.js, go to the Node.js website and download the version for your operating system. Please follow the installation instructions in order to finish the setup process.

3. Choose a package manager:
A package manager is a tool that allows you to easily manage and install third-party libraries and packages for your JavaScript project. Two popular package managers for JavaScript are npm (Node Package Manager) and Yarn. npm comes pre-installed with Node.js, so you don't need to install anything extra.
4. Set up a project:
Once you have your text editor, Node.js, and package manager installed, you can create a new JavaScript project. You can do this by creating a new directory for your project and running the command npm init or yarn init in the terminal. This will create a new package.json file that will store information about your project, such as its name, version, and dependencies.
5. Install dependencies:
To add dependencies to your project, you can run the command npm install <package-name> or yarn add <package-name> in the terminal. This will install the specified package and add it to your package.json file.
6. Write and run code:
With your project set-up and dependencies installed, you can start writing and running your JavaScript code. You can create a new file in your project directory with a .js extension and start writing code. To run your code, you can use the command node <filename> in the terminal.
These are the basic steps to set up a JavaScript development environment. As you progress in your JavaScript learning journey, you may need to add additional tools and configurations to your environment, but these steps should be enough to get you started.
Previous:
Best JavaScript Code Editor
Next:
JavaScript Syntax